
Granting EverTrue Access to Your Facebook Pages
EverTrue can track constituent engagement with your institution’s Facebook pages. Before this engagement data can be pulled into EverTrue, an EverTrue user must have the correct Facebook access type. They will then use this access to authorize the connection between the platforms.
Below, we will review how to grant Facebook access to one of your EverTrue users, authorize EverTrue's access to your institution's Facebook pages, and troubleshoot potential connection issues. Let's dive in!
Granting Facebook Access
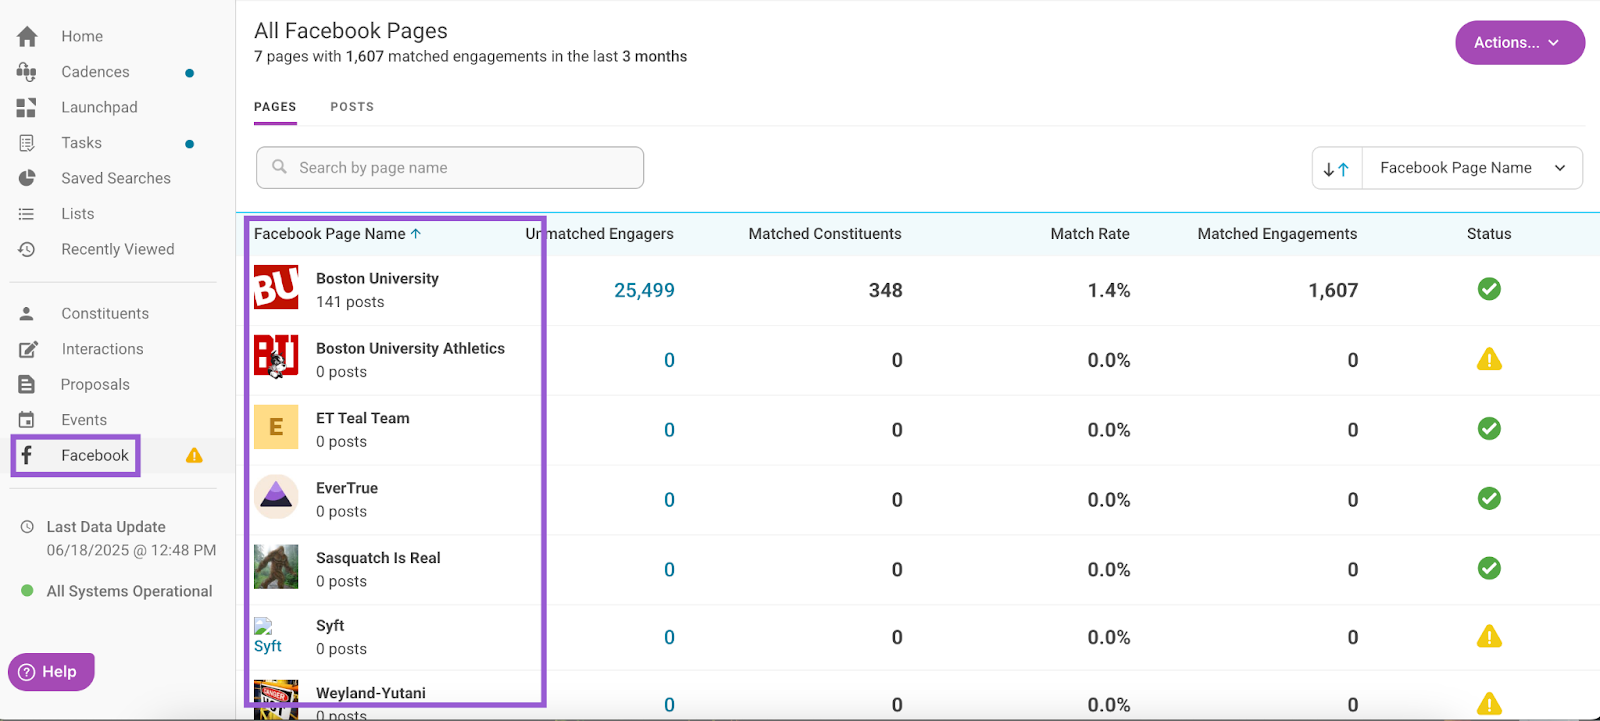
To begin, make sure the Facebook pages you want to track are connected to EverTrue. Navigate to the Facebook tab to find a list of connected pages. This list is set up during your implementation process, but you can reach out to EverTrue Support at genius@evertrue.com to add additional pages to the list.
Step 1. Determine Your Facebook Page Experience
When your Facebook pages are added to EverTrue, an existing Facebook Admin from your organization can use the following instructions to give Facebook access to an EverTrue user on your team. We recommend giving a current user this access.
- Facebook's Classic Pages Experience: Facebook is in the process of updating its classic pages experience. If your organization's pages have not yet updated, use these instructions to grant Admin or Analyst access to an EverTrue user.
- Facebook's New Pages Experience: If your organization's pages have updated to Facebook's new pages experience, use the instructions found within the Give someone Facebook access or Give someone task access dropdowns. Task access will be applicable to those who manage pages from separate management tools like Meta Business Suite. If following the task access instructions, be sure to toggle on Insights when choosing which features you want the user to access. For additional information about Facebook page access and roles, take a look at their dedicated help article.
Step 2. Accept the Access Invitation
Once access is granted, the user will receive an email invitation from Facebook. They must accept this access invitation before moving forward with the authorization process.
Authorizing EverTrue's Facebook Access
After access is accepted, the user can authorize EverTrue’s access to Facebook data.
Step 1. Open the Manage Facebook Accounts Page
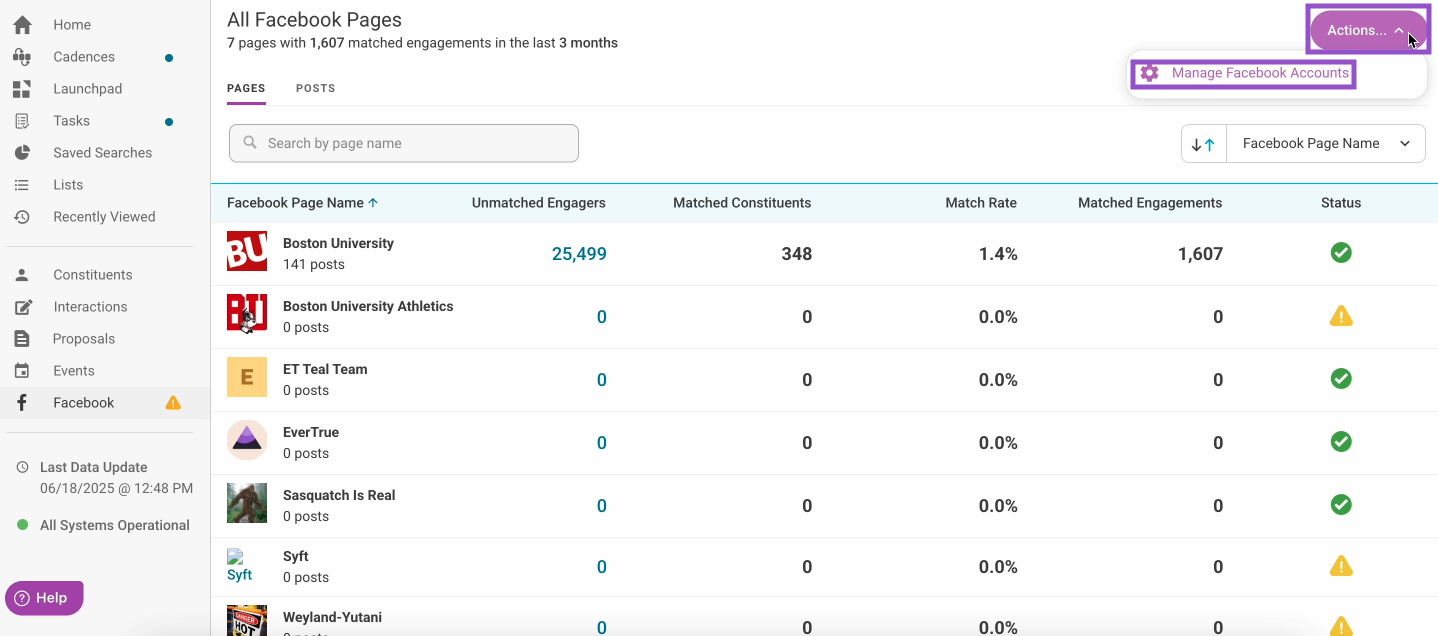
If you are a user with Facebook access, navigate to the Facebook tab and click the Actions button in the upper-right corner. Select Manage Facebook Accounts.
Step 2. Authorize with Facebook
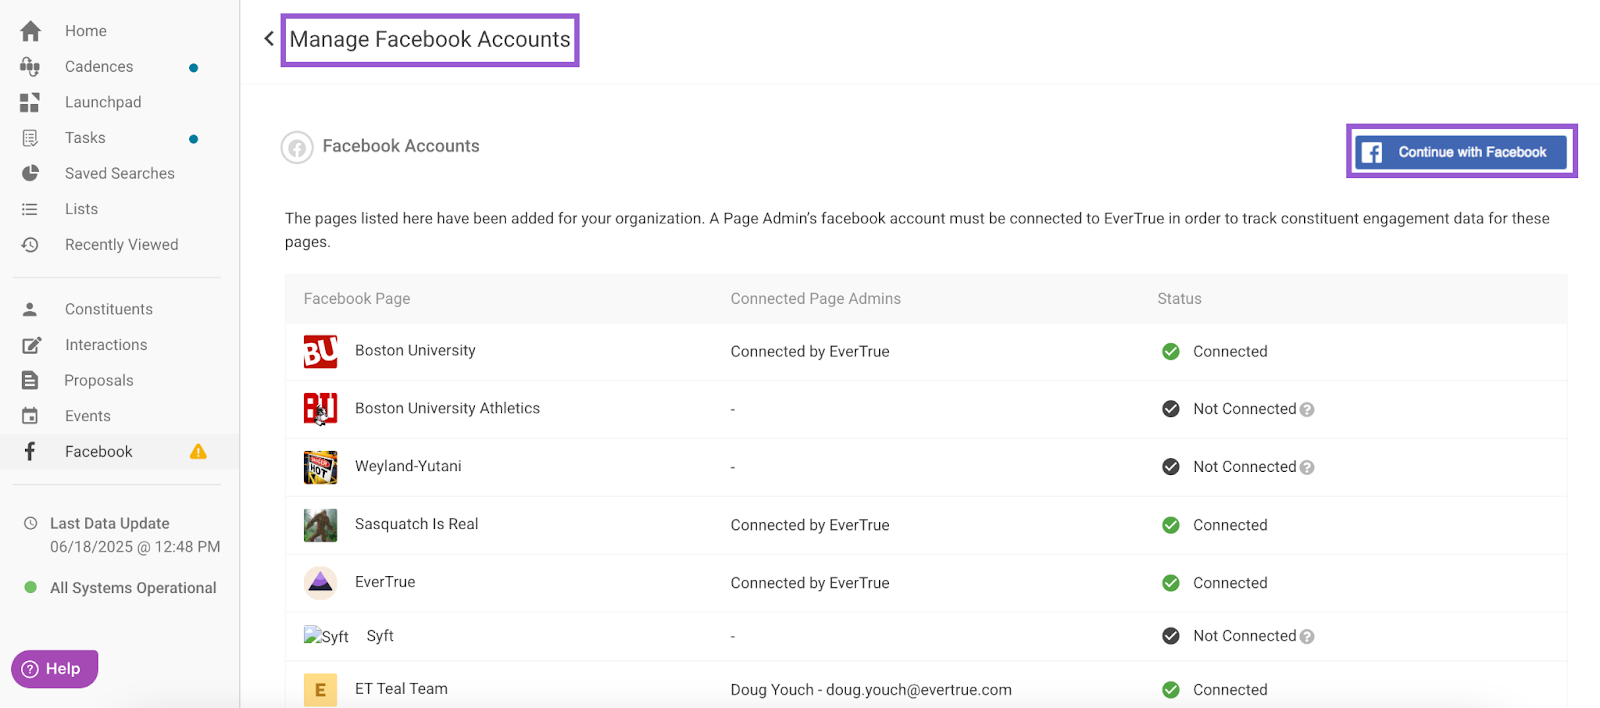
The Manage Facebook Accounts page will open. Click Continue with Facebook in the upper-right corner to begin authorization.
You will be redirected to Facebook's login screen. Once logged in, you will be prompted to approve of EverTrue to:
- Receive your organization’s public Facebook profile
- Access the pages you manage
Note: EverTrue does not gain permission to post on your behalf. This approval only enables tracking of public post engagement data.
Step 3. Complete the Connection
When you see the following screen, click OK to finish authorization and return to EverTrue’s Manage Facebook Accounts page.

In the Facebook Accounts table, look to the Connected Page Admins and Status columns:
- If connected, your name and a Connected status will appear next to each page that you have access to.
- If a page is still listed as Not Connected, a user with access to the page will need to repeat this authorization process.

Facebook Connection Requirements and Tips
Keep these guidelines in mind as you set up or manage the Facebook authorization process:
- All Facebook pages and posts must be public and not restricted by age or country for them to be pulled into EverTrue.
- Only personal Facebook accounts (not Business Manager accounts) can be used to connect pages in EverTrue.
- If you gain access to another Facebook page after the initial connection, EverTrue will connect it within one day as long as the page’s URL has been submitted to EverTrue for monitoring.
- EverTrue collects all posts for connected pages and refreshes this data nightly.
- To review your connection settings after the initial EverTrue connection, navigate to your Manage Facebook Accounts page and click Continue with Facebook.
Troubleshooting Your Facebook Connection
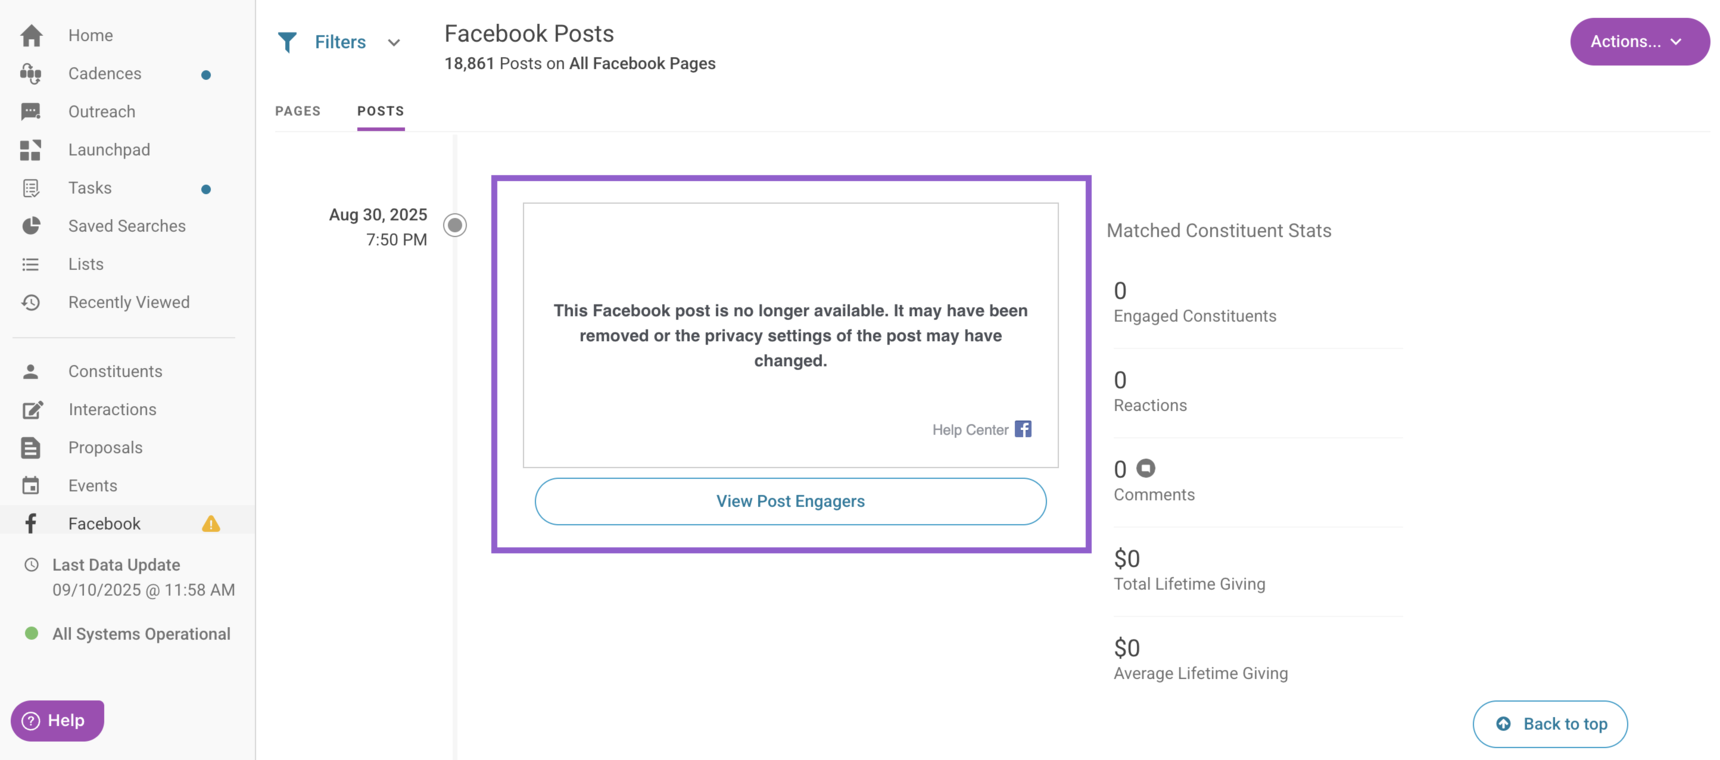
If any of your previously-connected Facebook pages now appear disconnected, the issue may be due to one of the following reasons:
- The user who maintains access changed their Facebook password or they logged out of all sessions.
- The user who maintains access changed their business integration settings.
- The user who maintains access disconnected their account in EverTrue within the Manage Facebook Accounts page.
- The user who maintains access disabled their Facebook account.
- The user who maintains access changed their user privacy settings in some way.
Let’s take a look at how to reconnect a disconnected Facebook page!
Step 1. Open the Manage Facebook Accounts Page
If you are a user with access to the disconnected page, navigate to the Facebook tab and click the Actions button in the upper-right corner. Select Manage Facebook Accounts.
Step 2. Reauthorize the Page
The Manage Facebook Accounts page will open. Click Continue with Facebook in the upper-right corner to start the reauthorization process.
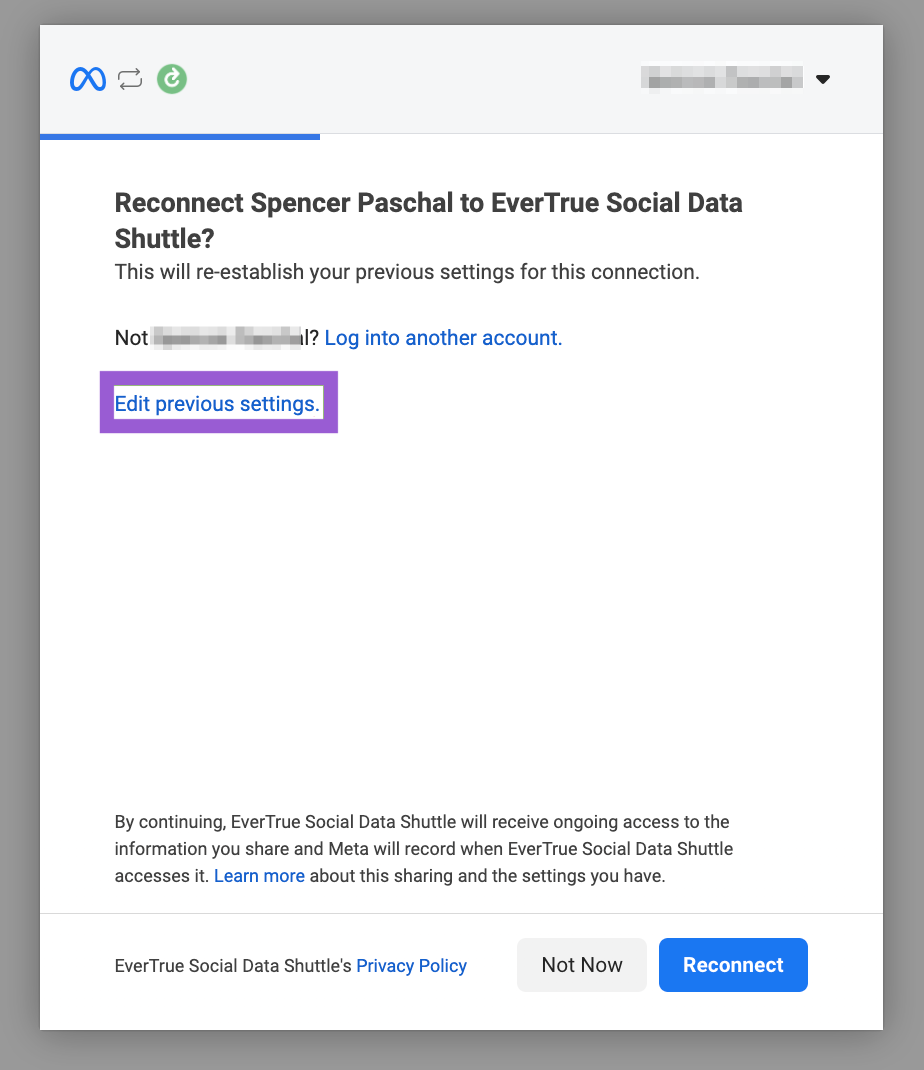
You will be redirected to Facebook's login screen. Once logged in, click Edit Previous Settings in the reconnection popup to specify page access.
Step 3. Contact Support if Needed
If issues persist, reach out to genius@evertrue.com for additional support.
For any other questions, reach out to EverTrue Support at genius@evertrue.com.
Reply
Content aside
- 3 yrs agoLast active
- 2330Views
-
1
Following