
Spot Checking Your Data
We've pulled together our best tips and tricks to spot-check your constituent data after successfully uploading it to EverTrue! We recommend using this article as a resource for moments when you want to ensure the accuracy of your implemented data.
Reviewing Giving Data
Giving data is incredibly important in EverTrue. We will walk you through how to quickly spot-check your Lifetime Giving, Last Gift, and Largest Gift data.
To begin, head to your Constituents tab from the left-hand navigation bar and select Lifetime Giving from your Filters dropdown. Enter a Giving Amount and click Apply Filters.

Once applied, you will want to edit your columns. To do this, either click the pencil icon in the top-right corner of any column header and select Edit Columns or scroll to the far right of your table and click Edit Columns. Both options will prompt the appearance of an edit pop-up window in which you can remove columns from your Active panel by clicking remove all in the upper-right corner.

Next, move the Last Gift, Lifetime Giving, and Largest Gift columns from your Available panel to your Active panel by clicking the arrow to the right of each column. Please note you can use the search bar to help narrow down these column names! Click Save Columns to view your narrowed data results.

Editing your columns using these steps will provide you with a more focused scope of imported giving data. Scroll through the results to being spot checking, and keep in mind some questions to ask yourself during the review:
- Is the Last Gift amount the same or less than the Largest Gift?
- Is the Lifetime Giving amount the same or more than the Largest Gift?
Reviewing LYBUNT & SYBUNT Data
We recommend spot-checking your LYBUNT and SYBUNT giving patterns in EverTrue. The LYBUNT pattern occurs when a constituent's last gift date is within one previous year from the current fiscal year's start date whereas the SYBUNT pattern occurs when a constituent's last gift date is prior to one previous year from the current fiscal year's start date.
To spot-check, some of your LYBUNTs and SYBUNTs, filter on Giving Patterns from your Constituent tab and edit your columns to narrow the review. Make sure that your last gift field and fiscal year totals reflect this status.

You can also spot-check these giving patterns directly within a constituent profile's Summary tab. Using this method is handy should you want to quickly review a particular constituent's data.

Reviewing Mapped Addresses
Ensuring your addresses are importing correctly is another important data piece to spot-check within EverTrue. Filter on your various location filters (such as City or Zip Code) from your Constituents tab and edit your columns to narrow the review.

In addition to using your default table view, you can browse this data using a map view by clicking the Map button found in the upper-right corner of your table. If your constituents are being mapped properly, the constituent will populate in this view. In the example screenshot, you will see a map radius set for 2 miles. Clicking the numbers within the radius will offer a corresponding list of constituents with addresses in that area.

Reviewing Constituency Codes
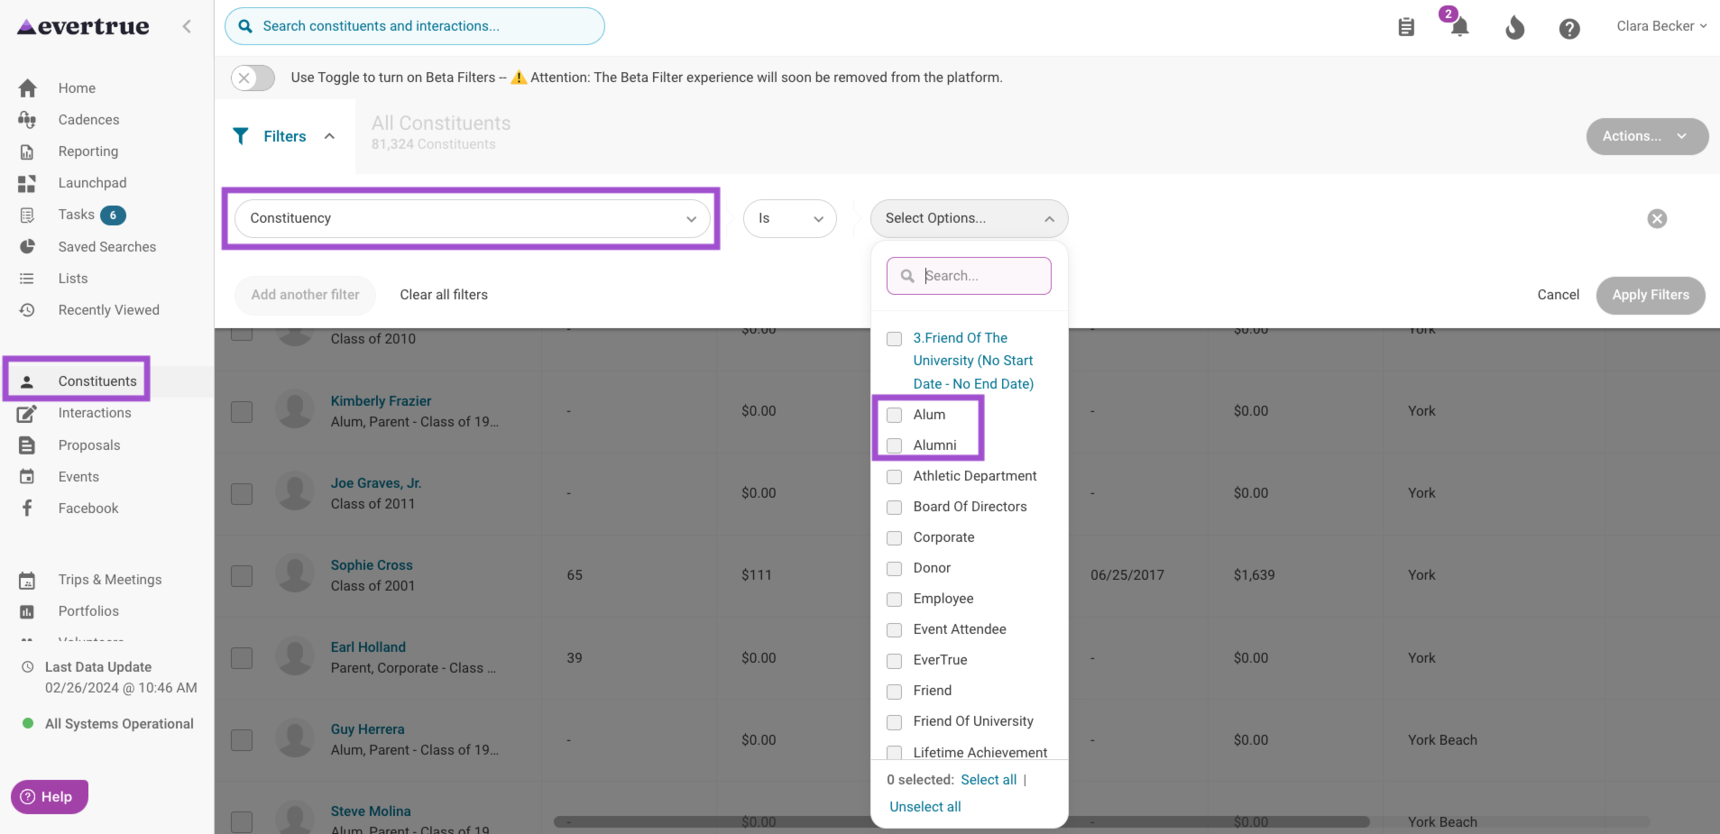
We recommend regularly verifying the accuracy of your constituency code formatting within EverTrue by using your Constituency filter found in your Constituents tab.
Though constituency codes are specific to your institution, we suggest keeping the codes concise and not including too many to avoid confusion. For example, the below screenshot shows Alum and Alumni codes. Having both options could make for a more difficult spot-checking process.
For any other questions reach out to EverTrue Support at genius@evertrue.com.
Reply
Content aside
- 3 yrs agoLast active
- 746Views
-
1
Following